When building a blog with the Typecho program, people usually use the OwO library to provide emoji support, like this:
OwO emoji feature
The integration method offered by the OwO library fits the traditional front-end development model, while the current open-source Shiro theme is built on the NextJS framework and is not suitable for direct integration. Therefore, we need to develop a simplified emoji sticker ourselves.
Create the emoji data file
In OwO, emoji data is fetched from the OwO.json file. For the Shiro theme, we can create an owo.ts file under the src/lib directory to define the emoji data. In this file, we create an owo object whose structure matches that of OwO.json, so we can inherit the emoji data from the previous Typecho theme.
export const owo = {
  颜文字: {
    type: "emoticon",
    container: [
      {
        icon: 'OωO',
        text: 'OωO',
      },
      //...
    ],
  },
  Emoji: {
    type: "emoji",
    container: [
      {
        icon: '😂',
        text: 'Face with Tears of Joy',
      },
      //...
    ],
  },
  图片表情: {
    type: "image",
    container: [
      {
        icon: "https://raw.githubusercontent.com/url8/CDN-EMOTE/main/2233/chijing.png",
        text: "face1",
      },
      //...
    ],
  },
};
Add the emoji button
The Shiro theme uses the Emoji Picker library as the emoji selector
But because scrolling this picker drops frames on my computer, I want to replace the Emoji Picker with my own sticker selector component. To avoid branch conflicts, I will also avoid modifying the original picker component EmojiPicker.
1. Import the custom sticker picker component:
First, in src\components\modules\comment\CommentBox\UniversalTextArea.tsx, replace the original EmojiPicker import with our own sticker picker component Stickers:
CodeBlock Loading...
2. Replace the original EmojiPicker component:
Replace <EmojiPicker onEmojiSelect={handleInsertEmoji} /> in the UniversalTextArea component return with <Stickers handleInsertEmoji={handleInsertEmoji} />:
CodeBlock Loading...
3. Modify the emoji button:
Finally, tweak the emoji button at the bottom-left of the text box:
CodeBlock Loading...
With this, we have finished modifying the comment area text box.
Sticker picker component
Next we need to write the sticker picker component Stickers we just imported. This component will render the picker and handle user clicks.
Go to the src\components\modules\shared directory and create a new file named Stickers.tsx.
Inside the component, we use useState to manage the current emoji category currentCategory (i.e., 颜文字, Emoji, or any other messy category), and use useMemo to cache the emoji categories and the currently selected emoji data.
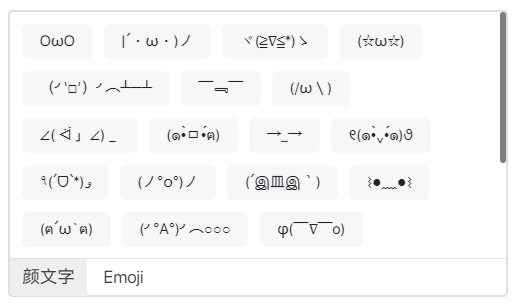
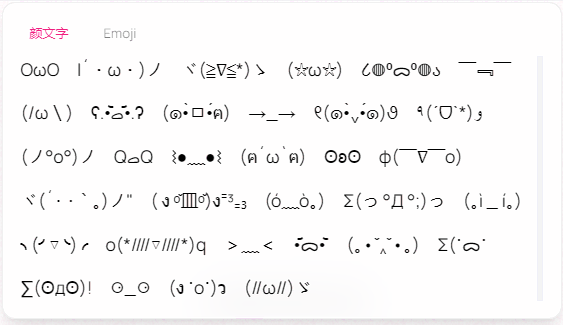
Note: Considering that kaomoji vary in length, we need to use a Grid layout to align elements when the current category is 颜文字:
CodeBlock Loading...
Otherwise it will look uneven like this:
Without Grid layout
The complete code of Stickers.tsx is as follows:
CodeBlock Loading...
Finally, just rebuild the project and you can use the emoji sticker feature in Shiro 😊.